| Zobacz poprzedni temat :: Zobacz następny temat |
| Autor |
Wiadomość |
Gomidefilho
Obserwator
Dołączył: 10 Gru 2007
Posty: 46
Przeczytał: 0 tematów
Ostrzeżeń: 0/3
|
 Wysłany: Pią 12:52, 04 Sty 2008 Temat postu: Vickers Type 151 Jockey 1/100 scale Wysłany: Pią 12:52, 04 Sty 2008 Temat postu: Vickers Type 151 Jockey 1/100 scale |
|
|
Friends!
And with great pleasure that I begin that thread with one more test of glue of our friend's models Krzychu74, this time the subject is a small prototype of English fighter of the decade of 30, Vickers Type 151 Jockey.
Without more ado and text is going to the that interests the construction.
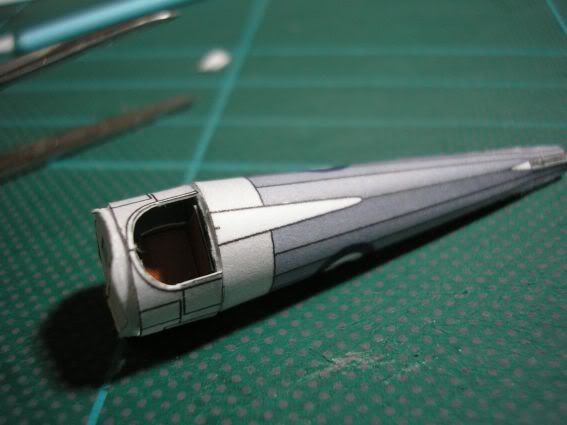
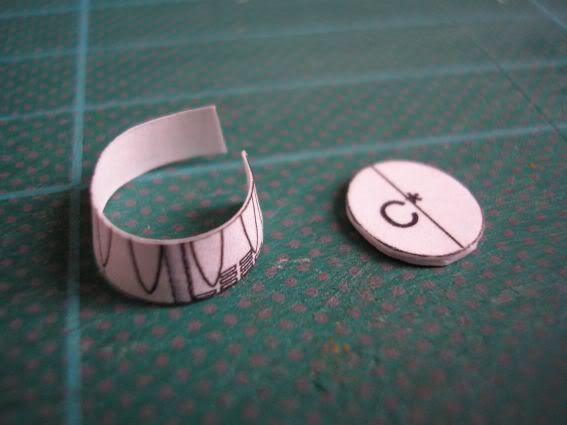
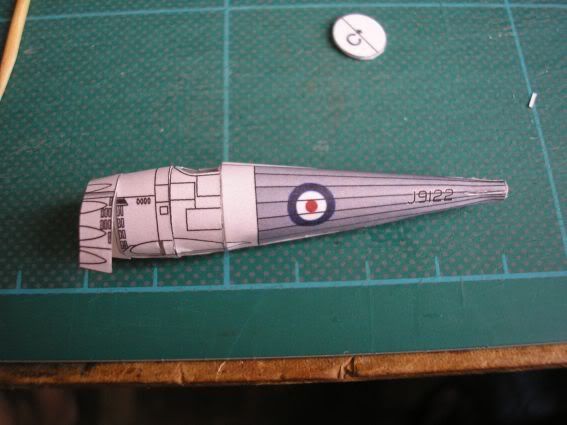
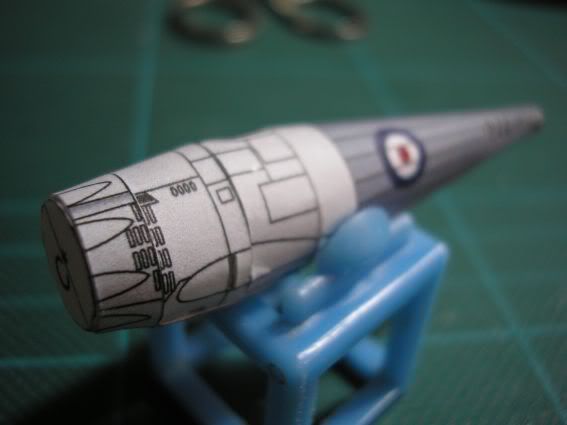
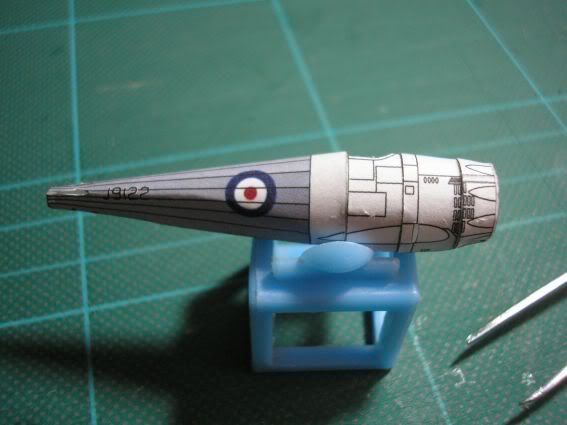
I should detach the excellent work in the texturization of the model, which more gets the attention is the color difference between the metallic parts and the linen. In spite of the small size, the engine is very detailed as well as the cockpit that offers to the modeler the possibility of some improvements in spite of simple.
The assembly almost happened without problems in that first part, we built the walls of the cockpit the skin of the back fuselage and the skin of the own cockpit. The only however it was with the floor of the cockpit that is 1mm longer than the skin of the same, what provokes fitting problems in the hour of the fixation of the skins.
I had to stop for here why my digital camera is with my parents in the beach (in Brazil it is summer and he is making 35şC of temperature on average during the day besides being period of vacations). I believe that in the fourth fair that comes will have more updates!
We will return! 
Photos
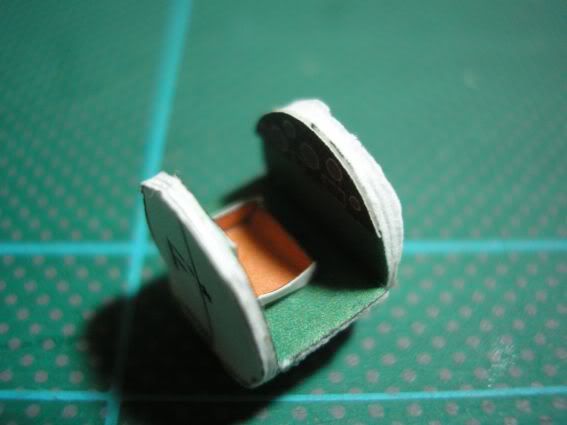
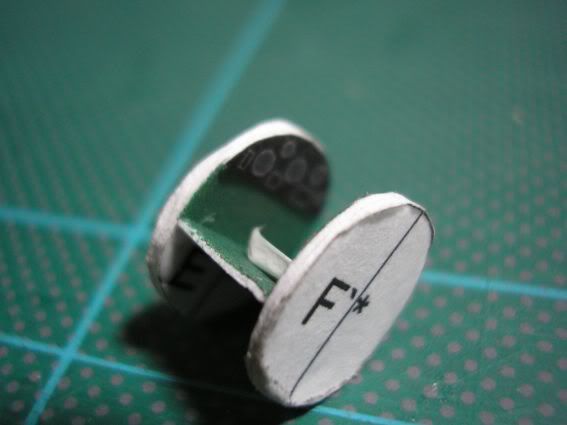
Cockpit
Fuselage Construction - beautiful textures 


Cheers from Brazil!
Péricles
Post został pochwalony 0 razy
|
|
| Powrót do góry |
|
 |
|
|
 |
ArmiA
Pomocnik
Dołączył: 06 Sie 2007
Posty: 146
Przeczytał: 0 tematów
Pomógł: 1 raz
Ostrzeżeń: 0/3
Skąd: Wrocław
|
| Wysłany: Pią 23:27, 04 Sty 2008 Temat postu: |
|
|
Great work you are doing! Is this model going to be awailable for free download?
Post został pochwalony 0 razy
|
|
| Powrót do góry |
|
|
Grzegorz Nowak (W)
Moderator

Dołączył: 27 Sty 2006
Posty: 473
Przeczytał: 0 tematów
Pomógł: 5 razy
Ostrzeżeń: 0/3
|
| Wysłany: Pią 23:35, 04 Sty 2008 Temat postu: |
|
|
ArmiA - zapowiedzi na dole strony [link widoczny dla zalogowanych]
może to to skoro model jest od Krzycha  ? ?
Gomidefilho - nice work , please more!!! 
Post został pochwalony 0 razy
|
|
| Powrót do góry |
|
|
Krzychu74
Admin.
Dołączył: 19 Sty 2006
Posty: 2883
Przeczytał: 0 tematów
Pomógł: 11 razy
Ostrzeżeń: 0/3
Skąd: Kłodzko
|
| Wysłany: Sob 1:16, 05 Sty 2008 Temat postu: |
|
|
Witam!
Thank you Gomidefilho! Of course all your sugestions are for me very important.
ArmiA i Grzegorz Nowak (W): tak to ten samolot z zapowiedzi.
Więcej o nim można przeczytać tutaj (eng):
[link widoczny dla zalogowanych]
Pozdrawiam.
Post został pochwalony 0 razy
|
|
| Powrót do góry |
|
|
Gomidefilho
Obserwator
Dołączył: 10 Gru 2007
Posty: 46
Przeczytał: 0 tematów
Ostrzeżeń: 0/3
|
| Wysłany: Sob 16:20, 05 Sty 2008 Temat postu: |
|
|
Thank you friends!
I believe that soon, in the next wednesday, I already have more news
on the progress in the assemblies of that interesting model!
Cheers from Brazil!!!
Post został pochwalony 0 razy
|
|
| Powrót do góry |
|
|
Gomidefilho
Obserwator
Dołączył: 10 Gru 2007
Posty: 46
Przeczytał: 0 tematów
Ostrzeżeń: 0/3
|
| Wysłany: Śro 23:47, 09 Sty 2008 Temat postu: New Progress!!!! |
|
|
Plus some progresses in the fuselage of the jockey. For the time being any serious problem, just some fitting problems due to the small problem in the floor of the model that altered the whole structure of the cockpit forward.
We are going the photos...

My Prudenziatti Gloster Gladiator converted for 1/100 and fuselage of Jockey...
Tomorrow I should conclude the sections and to begin the assembly the wings and the tail...
I will return
Cheers from Brazil!
Post został pochwalony 0 razy
Ostatnio zmieniony przez Gomidefilho dnia Śro 23:58, 09 Sty 2008, w całości zmieniany 2 razy
|
|
| Powrót do góry |
|
|
Krzychu74
Admin.
Dołączył: 19 Sty 2006
Posty: 2883
Przeczytał: 0 tematów
Pomógł: 11 razy
Ostrzeżeń: 0/3
Skąd: Kłodzko
|
| Wysłany: Czw 13:20, 10 Sty 2008 Temat postu: |
|
|
Hello!
I hope, that Jockey and Gladiator will be great looking presentable in your collection. Thank you for remarks. The floor is allready corrected.
Best regards.
Post został pochwalony 0 razy
|
|
| Powrót do góry |
|
|
Gomidefilho
Obserwator
Dołączył: 10 Gru 2007
Posty: 46
Przeczytał: 0 tematów
Ostrzeżeń: 0/3
|
| Wysłany: Pon 13:57, 21 Sty 2008 Temat postu: |
|
|
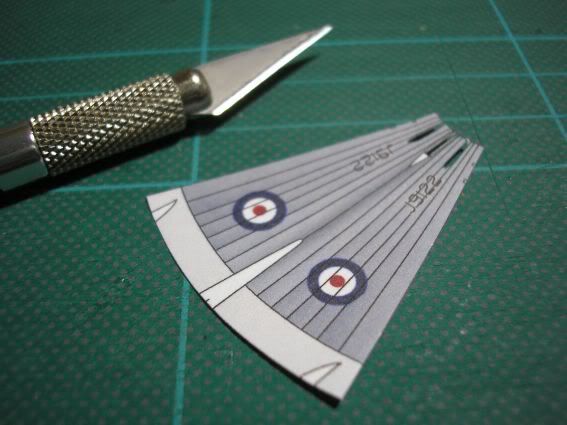
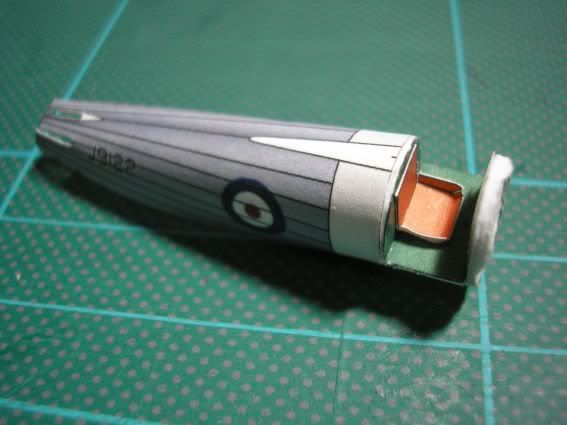
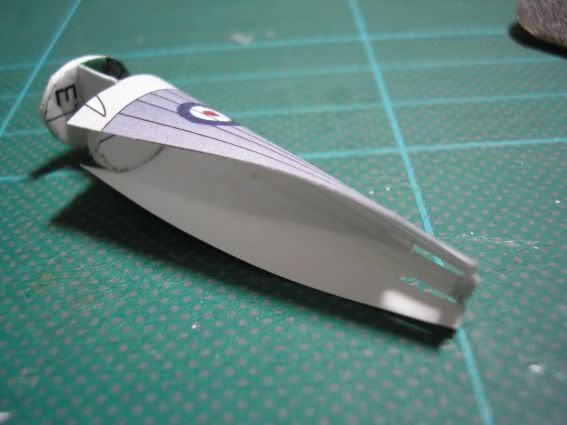
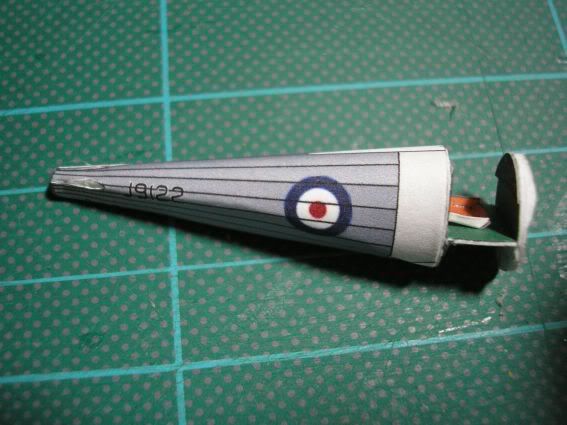
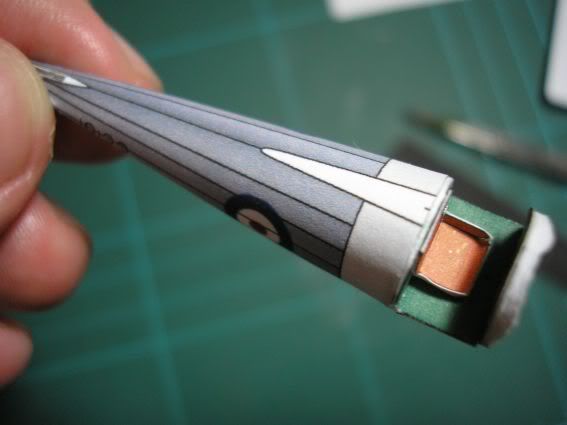
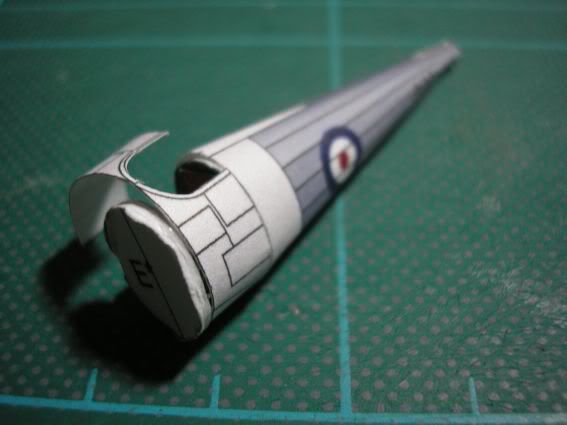
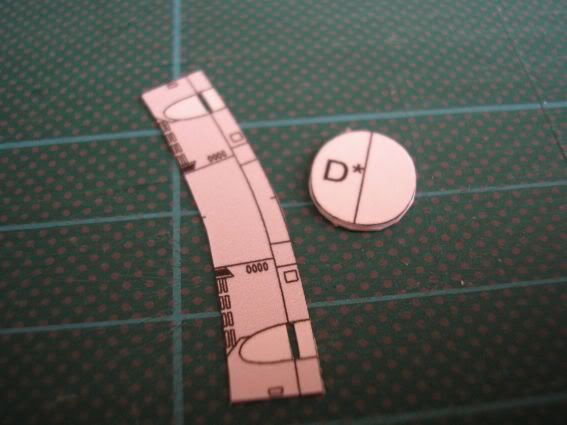
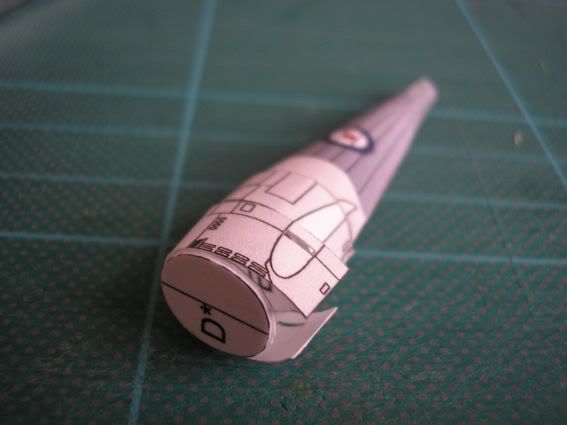
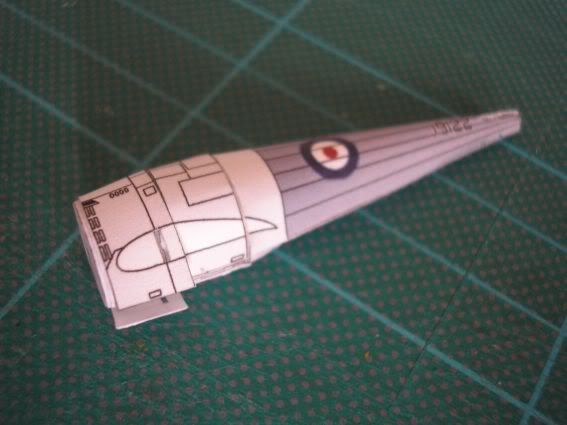
Well friends after a hiatus, I retook the construction tests of Vickers Jockey, this time we will illustrate the process of final assembly of the fuselage, as well as the construction of the wings and of the empennage.
This stage of the construction that completes the main process of making was made without problems the only defects are the pieces that structure the empennage, the piece of the stabilizers could be thiner and the one of the vertical rudder is with the too big clamp besides it can be a little smaller. to fit I had to do some small modifications. Well we are going the photos...

Fuselage complete...
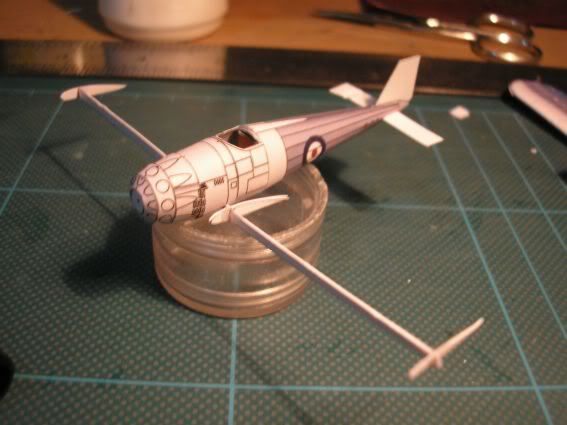
Wing formers, fit perfect, but empennage...
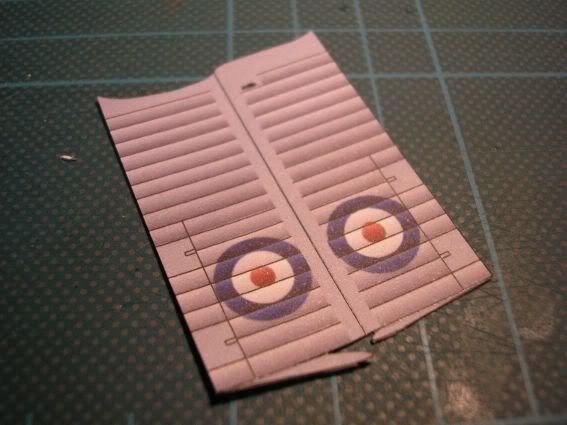
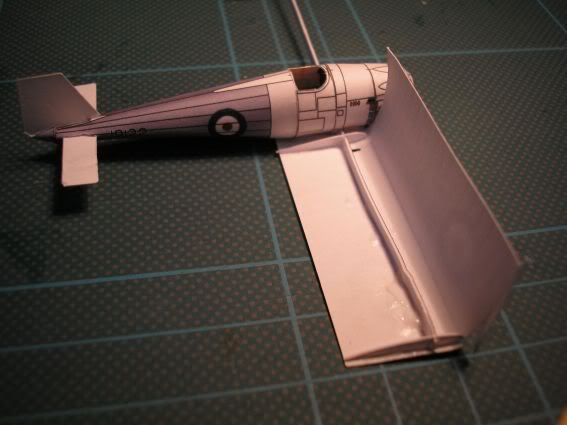
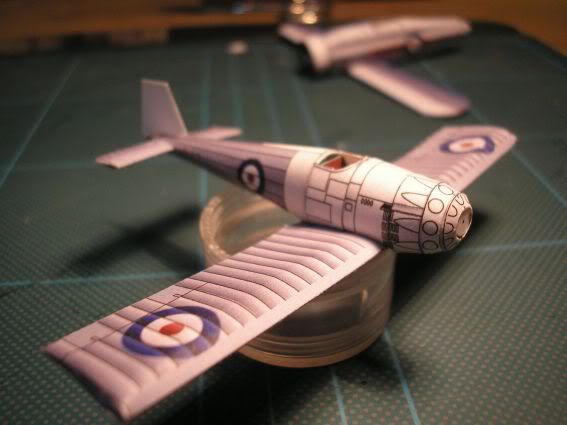
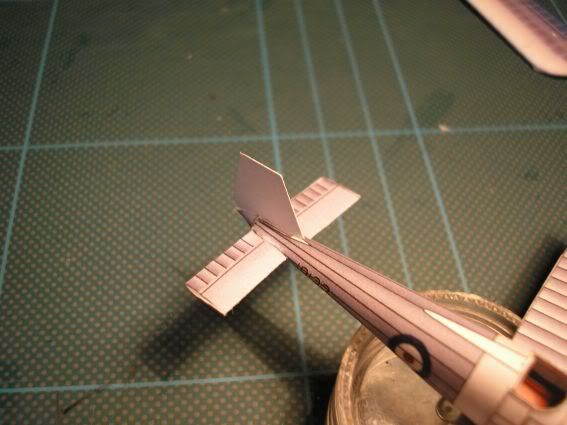
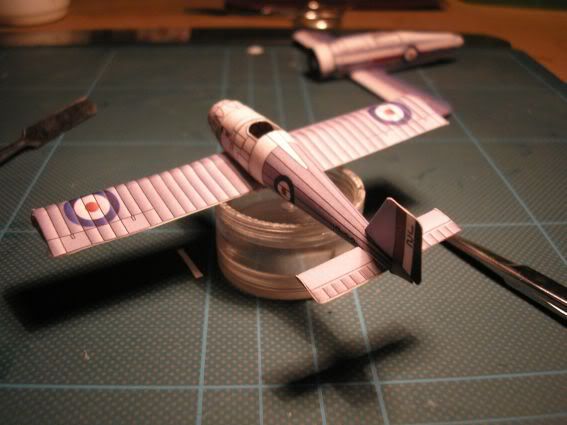
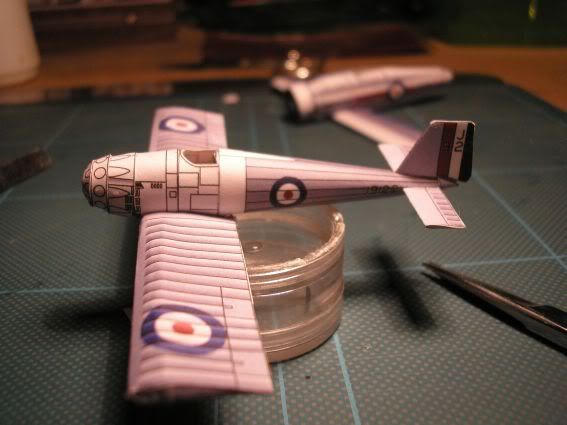
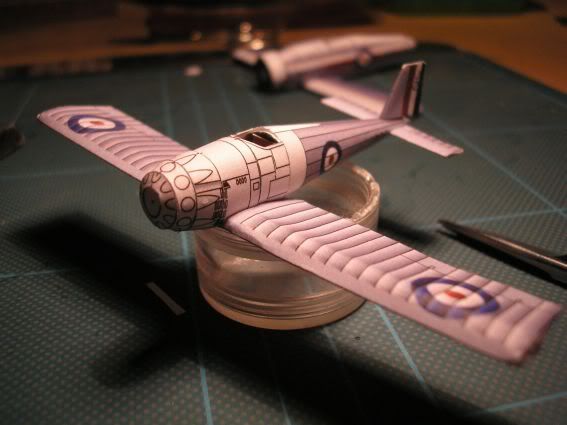
Assembly of wing and empennage. The airplane is taking form, his general similarity with Boeing P-26 in configuration terms and size is impressive...
The next assembly stages now are the "most tedious" that it is the construction of the engine, landing gear and other smaller details.
Cheers from Brazil!
Post został pochwalony 0 razy
|
|
| Powrót do góry |
|
|
Krzychu74
Admin.
Dołączył: 19 Sty 2006
Posty: 2883
Przeczytał: 0 tematów
Pomógł: 11 razy
Ostrzeżeń: 0/3
Skąd: Kłodzko
|
| Wysłany: Pon 17:40, 21 Sty 2008 Temat postu: |
|
|
Hello!
I see, that Jockey is gaining shapes. Still the engine and the underbody (gear) only and the model will be ready (I hope that there will be no problems).
Best regards.
Post został pochwalony 0 razy
|
|
| Powrót do góry |
|
|
Gomidefilho
Obserwator
Dołączył: 10 Gru 2007
Posty: 46
Przeczytał: 0 tematów
Ostrzeżeń: 0/3
|
| Wysłany: Śro 16:09, 13 Lut 2008 Temat postu: Continuity and Excuses for the delay... |
|
|
Friends
Excuse me for delay in assembly process, but my digital camera is travelling for 20 days whith my parents (is summer and time to vacation in Brazil) but the test not stop, i'm building the major components and sub assemblies.
Not worry whith photobucket shots in the 20 Fev is working again (the cause is a bandwhidth excess, the people provoke big acess in my photo shots  ) )
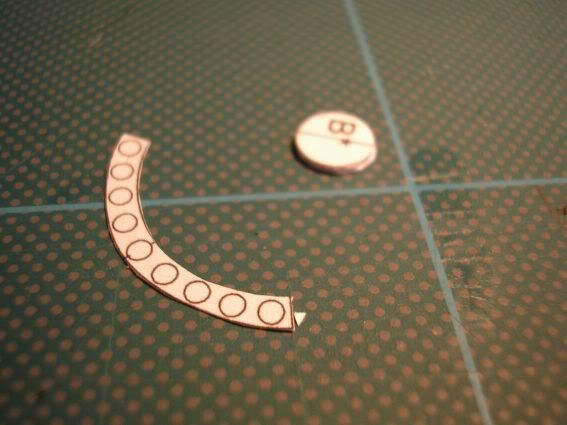
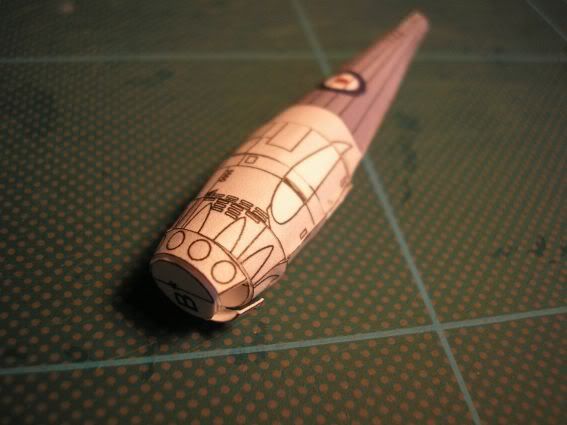
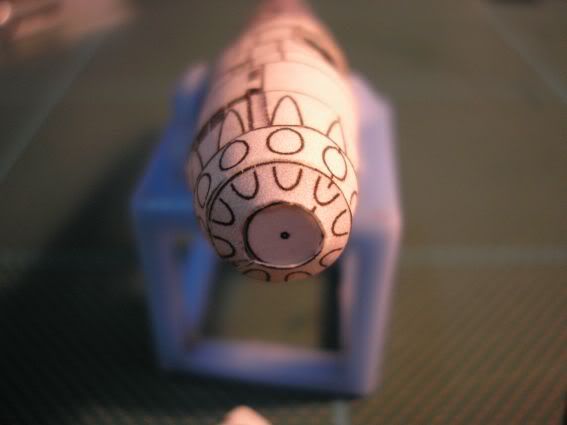
Well going the pictures. The most attention is a engine block are 36 components, and demand attention because is small components, but the final results is a very beautiful the only however they are the colors of the cylinders that could be a little more darkness.
[link widoczny dla zalogowanych][link widoczny dla zalogowanych]
[link widoczny dla zalogowanych]
The general view of plane. The Jockey is very close whith Boeing P-26 but is more advanced (no stais and brace wires)...
[link widoczny dla zalogowanych][link widoczny dla zalogowanych]
[link widoczny dla zalogowanych][link widoczny dla zalogowanych]
The final shot is a udercarriage pieces is delicated components the leggins (spats or wells carenage) is a nigtmare for beginners and need building whith pacience and careful. The secret is use for a sharp blade, fold whith fingers until getting the wanted format and later to apply behind each face a layer of PVA Glue.
[link widoczny dla zalogowanych]
Good for the time being it is that, until the end of this week the construction of this interesting subject will be concluded position then the updatings and the final conclusion!
Cheers from Brazil!
Péricles
Post został pochwalony 0 razy
|
|
| Powrót do góry |
|
|
Krzychu74
Admin.
Dołączył: 19 Sty 2006
Posty: 2883
Przeczytał: 0 tematów
Pomógł: 11 razy
Ostrzeżeń: 0/3
Skąd: Kłodzko
|
| Wysłany: Czw 2:00, 14 Lut 2008 Temat postu: |
|
|
Hello!
Great work! I see, that no longer a lot for you it stayed until the end. Aah, I changed the colour of cylinders. 
Best regards.
Post został pochwalony 0 razy
|
|
| Powrót do góry |
|
|
Gomidefilho
Obserwator
Dołączył: 10 Gru 2007
Posty: 46
Przeczytał: 0 tematów
Ostrzeżeń: 0/3
|
| Wysłany: Czw 21:05, 14 Lut 2008 Temat postu: Undercarriage... |
|
|
Well friends!
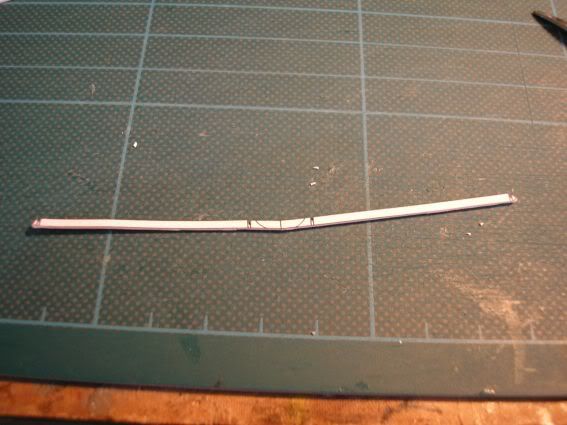
Now we worked with a very sensitive part of Vickers Jockey model the landing gear. The secret to build with success that part is a certain assembly sequence that I present in the pictures to proceed. Only in the main legs I used wire to reinforce in the others didn't find need to apply (unlike the instructions.). He has to take taken care even and with the alignment of the main leg he is fundamental to leave the model with the correct aspect.
[link widoczny dla zalogowanych][link widoczny dla zalogowanych][link widoczny dla zalogowanych]
After having stuck and dry the legs and the leggings, we enclosed Monday leaves of the landing gear, that they are the shock-absorbing legs, if the alignment is correct they perfectly fit.
[link widoczny dla zalogowanych][link widoczny dla zalogowanych][link widoczny dla zalogowanych]
With everything dry and firm, it is enough to enclose the wheels...
[link widoczny dla zalogowanych][link widoczny dla zalogowanych][link widoczny dla zalogowanych]
[link widoczny dla zalogowanych][link widoczny dla zalogowanych]
I took advantage and I also glued the tail ski and the windscreen...
[link widoczny dla zalogowanych]
The nexts steps to the end: Cowling, scoope shot and propeller...
Cheers! Péricles
Post został pochwalony 0 razy
|
|
| Powrót do góry |
|
|
Kat
Kontradmin z kontrwywiadu.
Dołączył: 02 Lut 2006
Posty: 1342
Przeczytał: 0 tematów
Pomógł: 6 razy
Ostrzeżeń: 0/3
Skąd: Radom
|
| Wysłany: Pią 22:13, 15 Lut 2008 Temat postu: |
|
|
Excellent work!
Post został pochwalony 0 razy
|
|
| Powrót do góry |
|
|
Toff
Moderator
Dołączył: 21 Sty 2006
Posty: 1588
Przeczytał: 0 tematów
Pomógł: 6 razy
Ostrzeżeń: 0/3
Skąd: Gdańsk
|
| Wysłany: Pią 23:08, 15 Lut 2008 Temat postu: |
|
|
You're doing a really good job Gomidefilho Looking forward to see the model finished soon!
Post został pochwalony 0 razy
|
|
| Powrót do góry |
|
|
Gomidefilho
Obserwator
Dołączył: 10 Gru 2007
Posty: 46
Przeczytał: 0 tematów
Ostrzeżeń: 0/3
|
| Wysłany: Sob 22:58, 16 Lut 2008 Temat postu: Finishing... |
|
|
Thank you friends!
Now the sequence of pictures of the assembly of the cownling, that part is very sensitive and I feared that the mounted cownling didn't fit with the cylinders, then I chose in setting up the main ring firstly and later to fit, everything worked satisfactorily, the piece fit as a glove, later with small glue layers I fastened the small external parts of the cownling. This the part that I was more afraid of not being well.
[link widoczny dla zalogowanych][link widoczny dla zalogowanych][link widoczny dla zalogowanych]
[link widoczny dla zalogowanych][link widoczny dla zalogowanych][link widoczny dla zalogowanych]
[link widoczny dla zalogowanych][link widoczny dla zalogowanych][link widoczny dla zalogowanych]
Later I prepared the pieces of the propeller that were done without great problems. Detail: they were projected considering the application of a pin and a retainer to be movable (but that madness I didn't do ). After ready and drought glued her in his place.
[link widoczny dla zalogowanych][link widoczny dla zalogowanych]
Finally I built the gunsight also without problems in spite of the small size of the support piece, later I glued the tube done with a small wire piece.
[link widoczny dla zalogowanych]
Finally I covered the white corners with art pens or pencil and my Vickers Jockey is ready to lift flight for the tests of RAF...
[link widoczny dla zalogowanych][link widoczny dla zalogowanych][link widoczny dla zalogowanych]
[link widoczny dla zalogowanych][link widoczny dla zalogowanych][link widoczny dla zalogowanych]
The model is highly recommended, entertaining of being built besides being extremely attractive when ready.
Congratulations Krzychu74 for that small "obra prima" 
Post został pochwalony 0 razy
|
|
| Powrót do góry |
|
|
|

